Kefir (Using Easy Kefir Packets)

I love making kefir from Easy Kefir and do so often. Easy Kefir is made from kefir grains that have been freeze-dried and ground into powder. You'll receive the benefits of kefir grains with the easiest way to make kefir you can imagine. I still love kefir grains and always will and think they're slightly better, but for those of you who are busy and worried about taking care of kefir grains, this is so easy, it's almost foolproof. You will get the many bacteria in kefir grains instead of just a few in other brands of powder made from kefir and you can make big batches.
With its numerous beneficial strains of organisms, kefir is more potent than yogurt. Most yogurts have 3 to 7 probiotic strains of good bacteria and good yeasts, while kefir has over 50. Since Easy Kefir is a powder made with freeze-dried grains, you receive numerous strains of probiotics. It contains over 3 billion live bacteria and over 50,000 lactic yeasts per gram. The kefir made with Easy Kefir will typically contain +/- 1 billion active bacteria.
Another wonderful thing about Easy Kefir is that it works on non-dairy kefir too. Check out our recipes to make sure you add a little more food to non-dairy kefir. We have 16 Non-Dairy Kefir recipes.

Watch The Video

Servings: 1 quart

Ingredients

  • 1 packet Easy Kefir
  • 1 quart milk(See recipe notes below for types of milk)

Every ingredient with a link was selected by me to make it easier for you. I may receive a small affiliate commission if you buy something through my links. Thank you! ❤️

Instructions

  • Pour four cups of milk into a quart-sized glass jar.
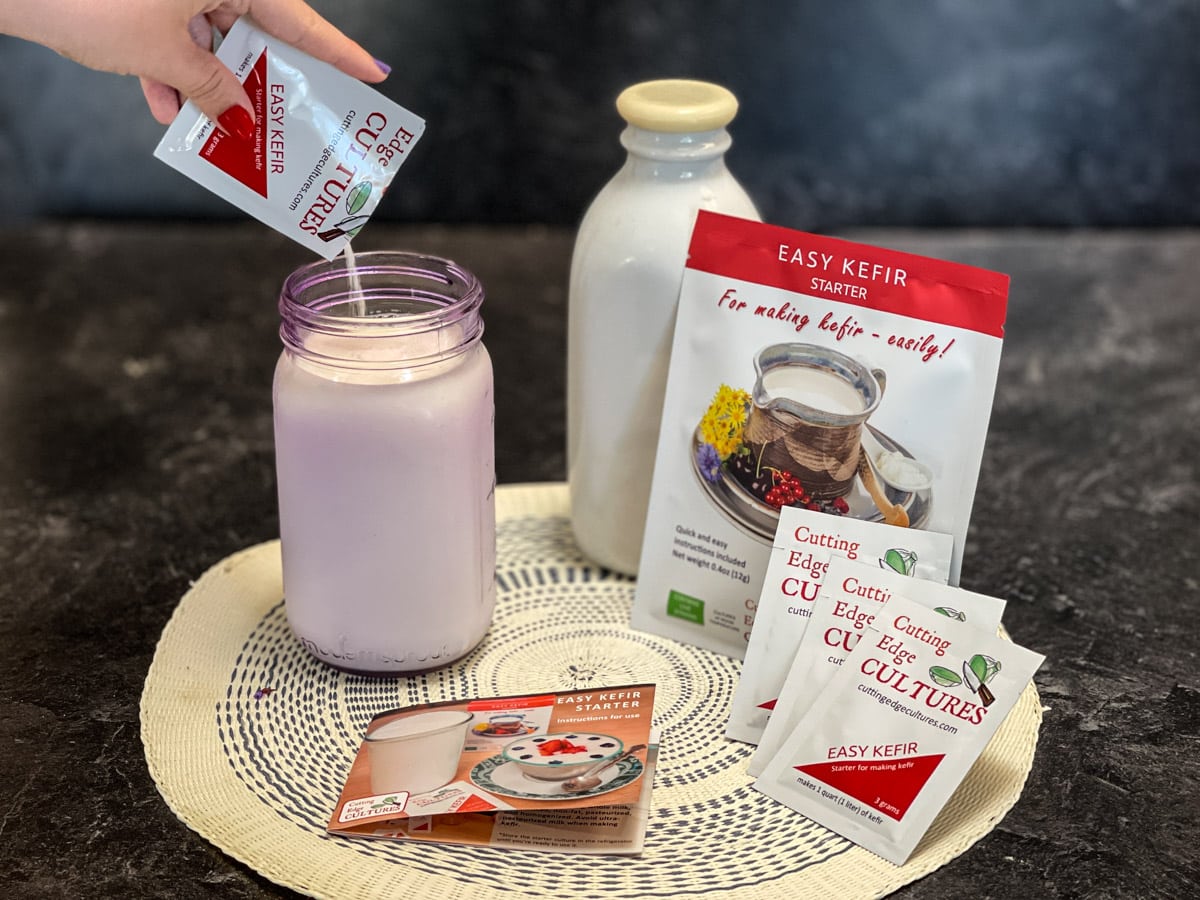
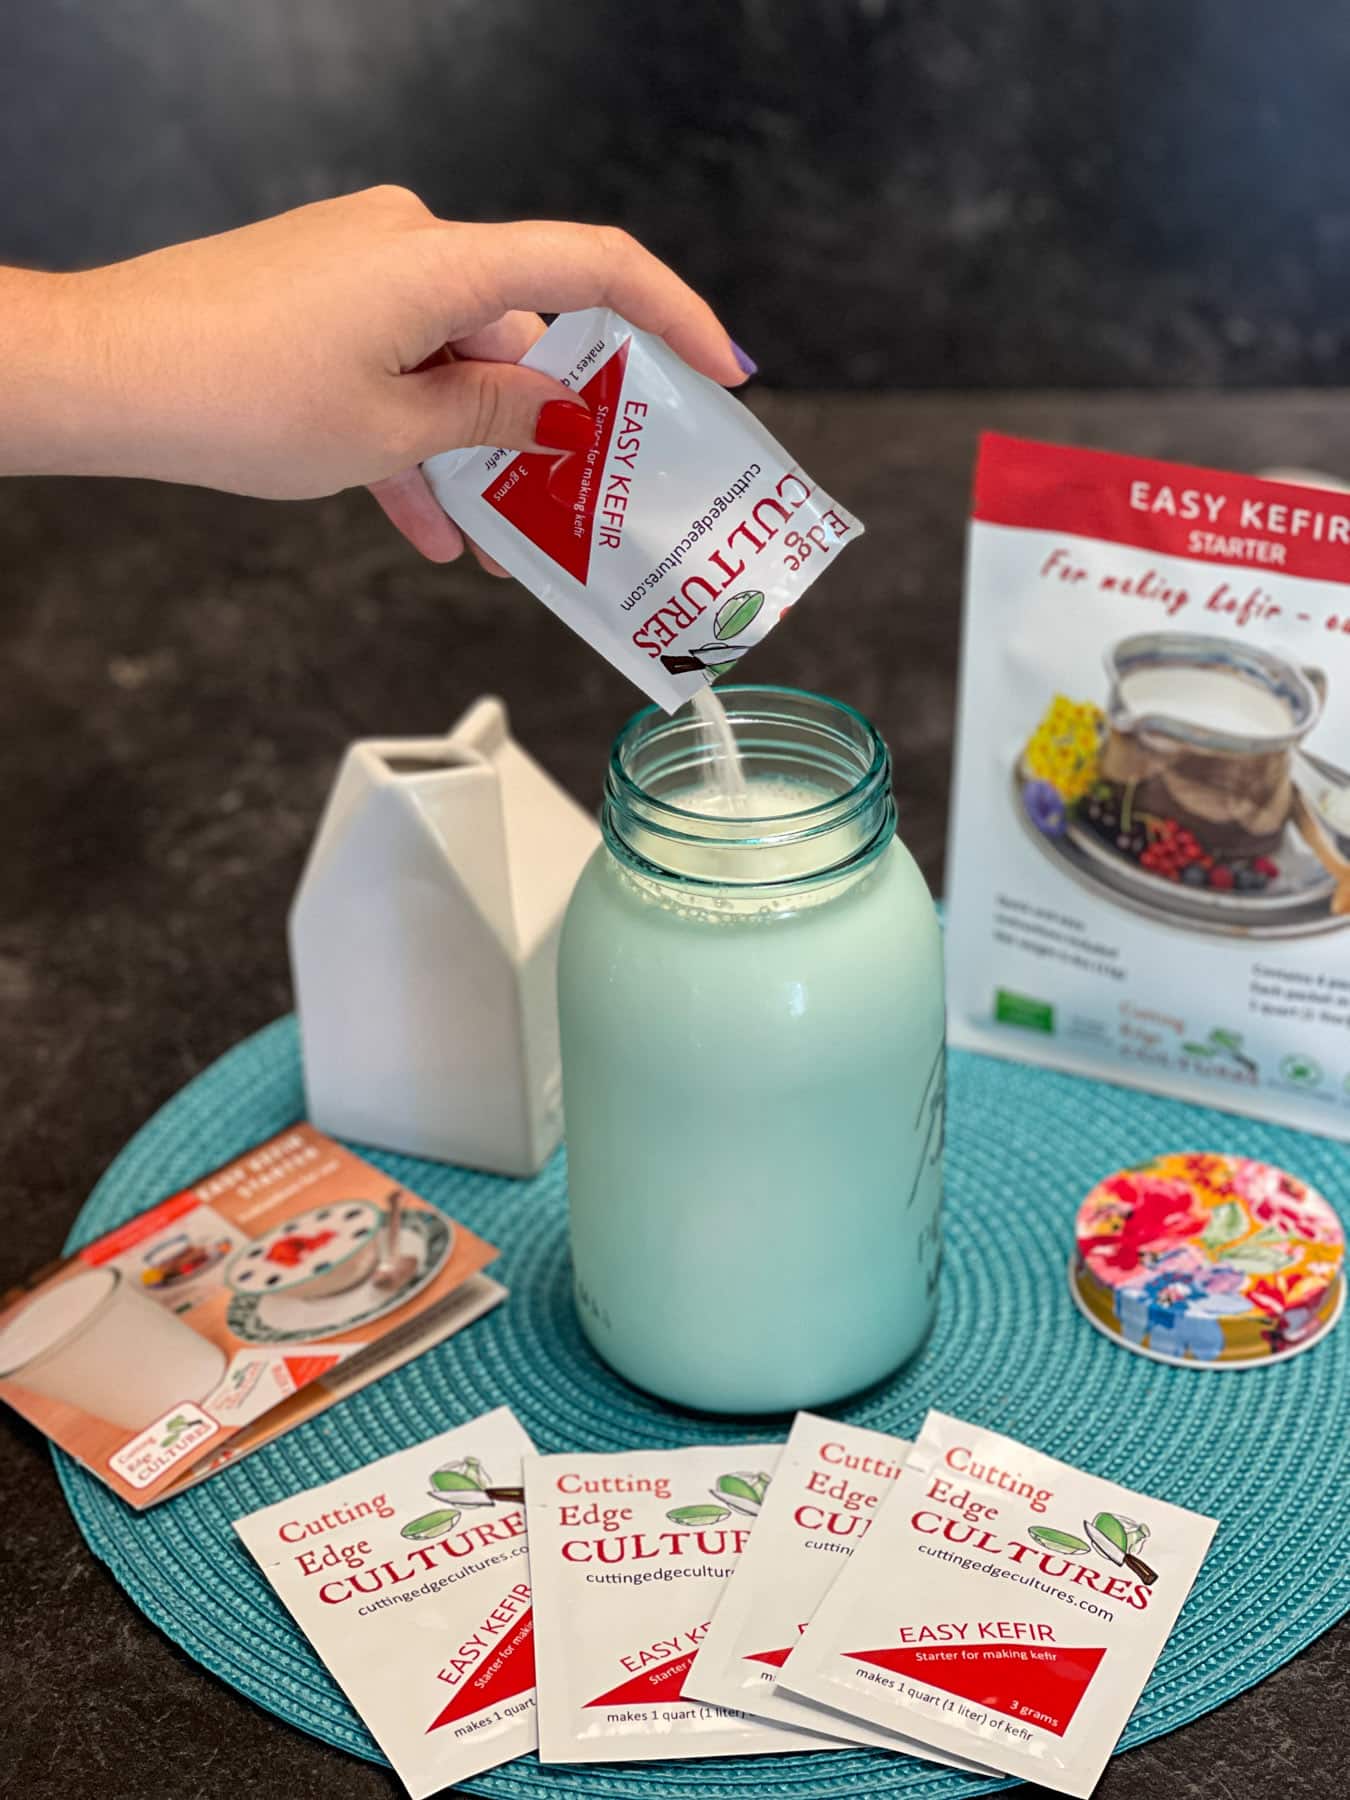
  • Sprinkle the entire contents of one Easy Kefir packet into the jar.
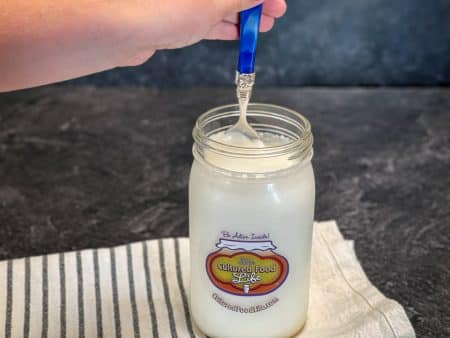
  • Mix well with a spoon and put a secure lid on the jar.
  • Let this mixture ferment at 72°F to 75°F for 18 to 24 hours. If the temperature is below 72° let it ferment a little longer.
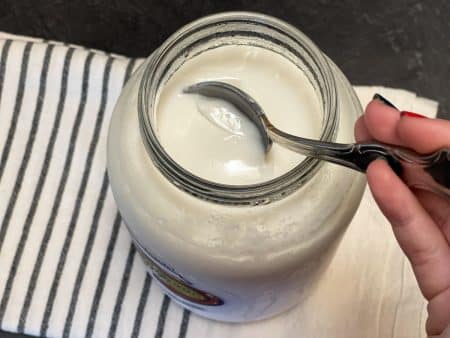
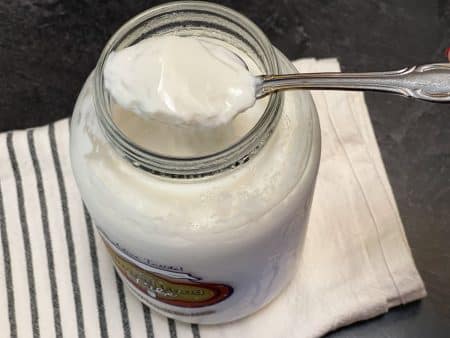
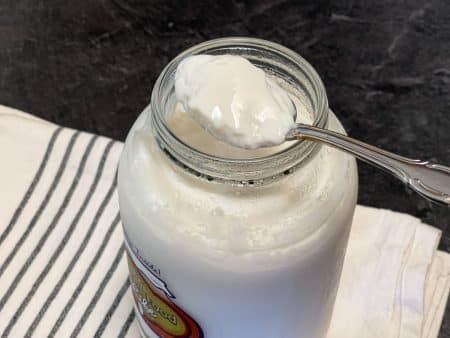
  • You will know your kefir is ready if the milk has thickened and has a distinctive sour fragrance. The final consistency should be pourable and have a thicker curd.
  • Place into the refrigerator with a lid. When you put the kefir in your refrigerator the fermentation process continues, but chilling it will slow down the fermentation of the healthy bacteria and beneficial yeast.
  • To make more kefir from this batch, see notes below — Re-culturing Your Kefir

Notes

Types of Milk for Kefir

(*1) Most milk types are acceptable, including whole milk, fat-reduced, non-fat, pasteurized, homogenized, A2, and Raw. We recommend avoiding milk that has been Ultra-pasteurized (UHT) (most organic milks). 
I mostly enjoy “regular” pasteurized 2% cow’s milk to culture my kefir.
You can also use non-dairy milk. Check out this article for recipes and extra tips you need for making Non-Dairy Kefir.

Re-culturing Your Kefir

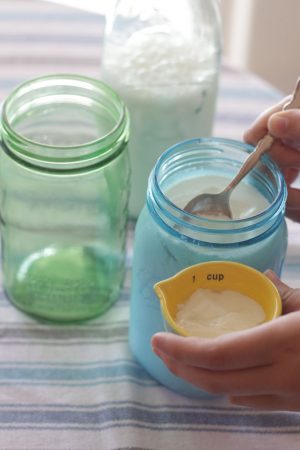
Once you’ve made your first batch (quart) of kefir, you can use some of it to make more kefir, so don’t drink all of it! Simply take a portion of this kefir, add it to new milk, and let it culture it again.
  • To make a quart: use 1/4 cup from the previous batch.
  • To make 1/2 gallon: use 1/2 cup from the previous batch.
  • To make 1 gallon: use 1 cup from the previous batch.
You can do this up to seven times and in larger quantities. Or perhaps more than seven times if you do it every day like I do 🙂 Just keep doing it until it stops re-culturing, then you’ll know that you need to use another Easy Kefir packet.