Everyday Sourdough Bread
Ingredients
- 1 cup Sourdough Starter – 200 grams
- 1 cup warm water – 240 grams
- ¼ cup olive oil – 54 grams
- ¼ cup Honey – 85 grams or 3 ounces
- 2 teaspoons Celtic Sea Salt – 38 grams (this will be added after mixing the dough)
- 4 cups White Whole Wheat Flour – 500 grams (do not use sprouted flour)
Every ingredient with a link was selected by me to make it easier for you. I may receive a small affiliate commission if you buy something through my links. Thank you! ❤️
Instructions
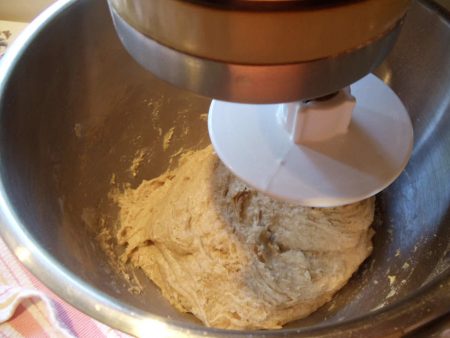
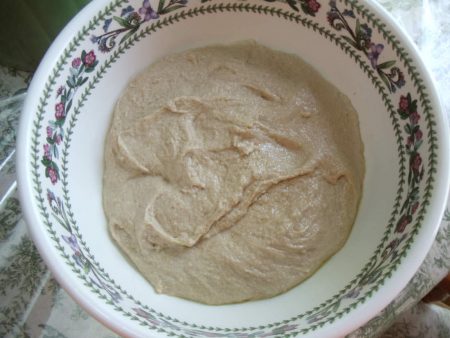
- If mixing with dough mixer, process just until ingredients are mixed together. If mixing by hand, stir ingredients until they are just mixed together. Let the dough rest for ten minutes. This is called autolyse. This resting helps the gluten strands to absorb the water and start to develop. It is a very important step for the right consistency of your dough.
- After the ten minutes are up, it is time to sprinkle in the salt. The salt is added after autolyse because salt toughens the gluten and makes it harder for the water to be absorbed. Sprinkle in your salt and then turn on your mixer and process for 3 minutes. If mixing by hand, stir together the dough with a wooden spoon for three minutes, or get your hands in the bowl and mix for 3 minutes.
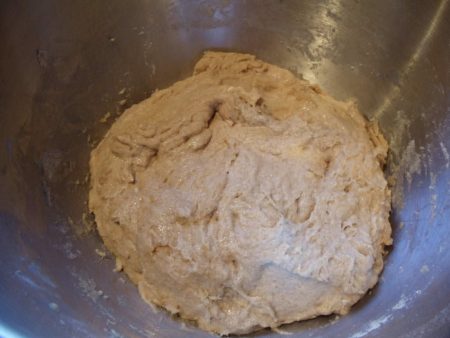
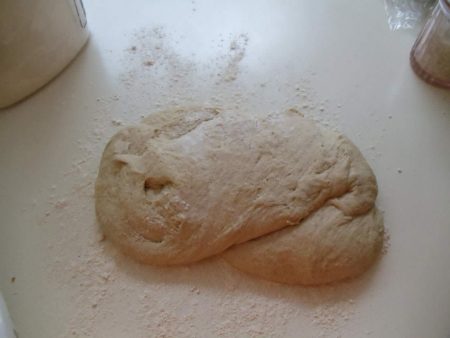
- After five hours, the dough has about doubled and is moist and sticky. Stir the dough down with a couple of turns of your mixer, or if mixing by hand stir the dough down with your wooden spoon. The gluten is pretty well developed now and the dough is stretchy. Pour the dough out onto a lightly floured surface.
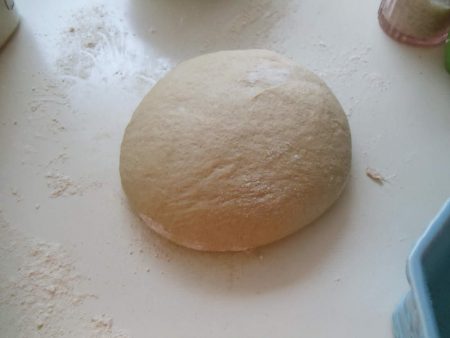
- Fold the edges into the middle all around. This helps get the dough into a rough shape of a ball. Dust the dough with flour and using the fingertips of both hands, start folding the outer parts of the dough to the middle. Turn the dough around and do this all around the piece of dough until you get it into a ball shape. Don’t use large amounts of flour to do this, but keep enough flour on the dough to prevent it from sticking to your hands.
- To make a round boule shape take your hands and place them on both sides of the boule, making sure you have some flour on the surface so your hands don’t stick to the dough. Then turn the boule in a counterclockwise direction, shaking it gently from side to side at the same time to encourage the dough ball up off of its flat condition and into a more tightly wound dough ball. Do this just a little bit – like three or four turns, forming a round ball. It doesn’t matter if you get it exact.
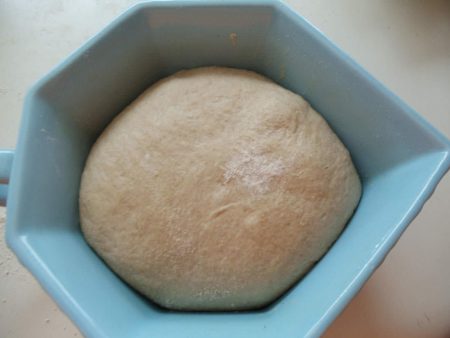
- Put your round boule into an approximately 8 ” diameter glass/ceramic baking dish or bowl which is ovenproof and is greased and sprinkled with Cornmeal or Semolina flour. Sprinkle a little cornmeal or Semolina flour over the surface of your dough, so the cloth won’t stick to the dough, and then put a damp cloth over the dough and bowl.
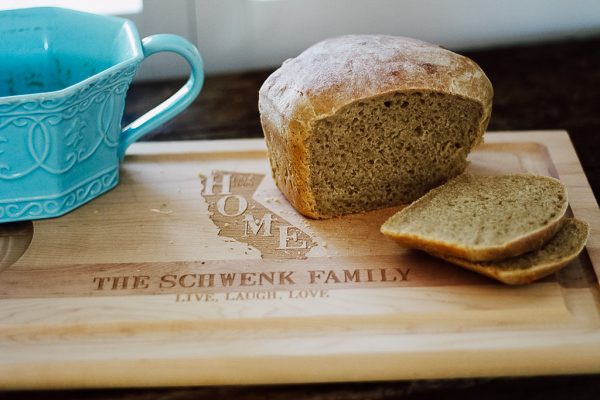
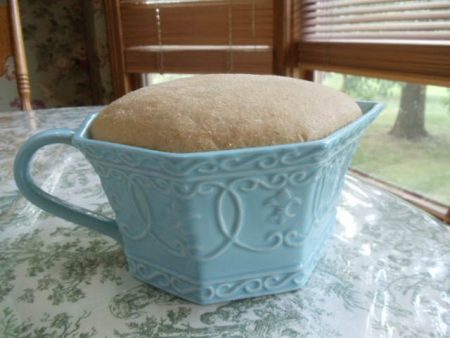
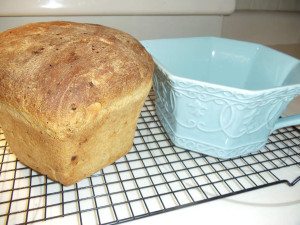
- Then allow the dough to proof for approximately 2.5 hours or until doubled and nicely proofed. Make sure your oven is well preheated to 450°F when the dough is ready to go in at the end of the 2.5 hours. When the 2.5 hours is up and your oven preheated, slash the top of the dough with a sharp knife or lame. Put the proofed dough in its baking pan or dish into the preheated oven (450°F) for the first five minutes. After the five minutes is up, turn the oven down to 425F and bake the bread for another 25 minutes, turning the loaf halfway for even browning. Remove from the pan and cool on a wire rack.


