Coconut Kefir
Ingredients
Coconut Milk
- 1½ cups shredded coconut – dried, unsweetened
- 2 cups hot water spring or filtered with minerals – spring or filtered with minerals
- 2 cups cold water – spring or filtered with minerals
Coconut Milk Kefir (if using Live Milk Kefir Grains)
- 4 cups Coconut Milk
- 2-3 tablespoons Live Kefir Grains
- 1 teaspoon Prebio Plus – or raw sugar
Coconut Milk Kefir (if using Easy Kefir powder packets)
- 4 cups Coconut Milk – (You can also use almond milk for yummy almond kefir!)
- 1 package Easy Kefir
- 1 teaspoon Prebio Plus – or raw sugar
Every ingredient with a link was selected by me to make it easier for you. I may receive a small affiliate commission if you buy something through my links. Thank you! ❤️
Instructions
Coconut Milk
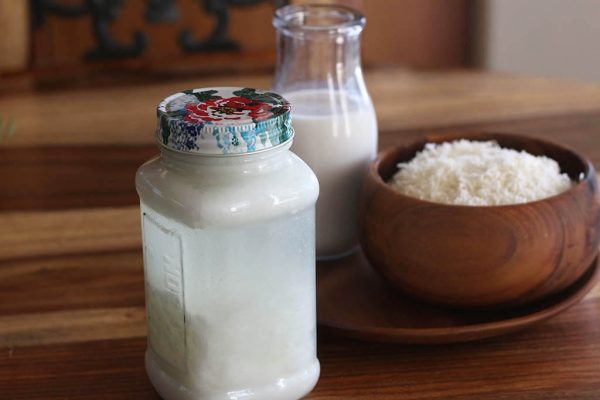
- Place the coconut and 2 cups of hot water in a blender and let it sit for 30 minutes to rehydrate the coconut. Then add 2 cups of cold water and blend for 2 minutes. You may want to hold the lid of the blender with a kitchen towel to prevent spills. Let the mixture cool until you can handle touching the liquid for the next step.
- For a thicker consistency, leave the pulp in and don't strain it through the nut bag. It might stick to the kefir grains but it doesn't hurt them.
Coconut Kefir (if using Live Milk Kefir Grains)
- Add 1 quart of coconut milk to a glass jar.
- Add kefir grains and Prebio Plus or some type of raw sugar to the jar.
- Place a lid on the jar and let it sit for 18 -24 hours or until tart or sour tasting. It might separate into whey and curds. This is normal for non-dairy milks.
- Strain out kefir grains and place coconut milk kefir in the refrigerator or enjoy immediately. This will last at least a month in the fridge but will continue to get more sour over time. Place the grains in fresh coconut milk to culture again, making sure to add more date paste or sugar and repeat steps 1-4 again.
Coconut Kefir (if using Easy Kefir powder packets)
- Add 1 quart of coconut milk to a glass jar.
- Add 1 teaspoon of Prebio Plus or some type of raw sugar to the jar.
- Mix in 1 packet Easy Kefir with a spoon or whisk or until all ingredients are thoroughly combined.
- Place a lid on the jar and let it sit for 18 to 24 hours or until tart or sour tasting. It might separate into whey and curds. This is normal for non-dairy milks.
- Place coconut milk kefir in the refrigerator or enjoy immediately. It should keep for at least a month although it will continue to get more sour and tart.
- If you like to make more kefir, take ¼ cup of this mixture and 3¾ cups of fresh coconut milk, 1 teaspoon of Prebio Plus or sugar, and culture again for 18 -24 hours or until tart.
- You can do this many many times over or until it stops working and making the milk tart. Then you will need a new Easy Kefir packet.
Notes


