How to Make Kefir
Gather Your Materials
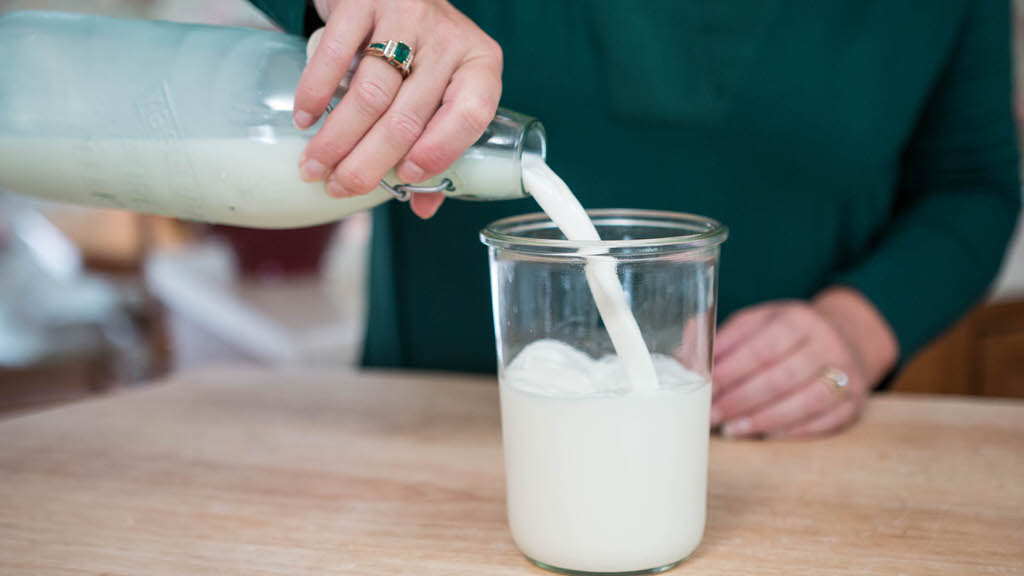
Milk or Non-Dairy Milk
Most milk types are acceptable, including whole milk, fat-reduced, non-fat, pasteurized, and homogenized. Fresh raw whole cow’s milk is delicious too and goat kefir is one of my favorites!
Please don’t use ultra-pasteurized milk when making kefir. Your kefir won’t do well. Many times organic milk that you purchase from a store is ultra-pasteurized, even if it does not say ultra-pasteurized. So if you choose to use organic milk, make sure you know what you are getting and that it’s not ultra-pasteurized. The problem is that ultra-pasteurized milk is heated at high temperatures for longer than regular milk, causing many problems when making kefir. Remember that kefir will add enzymes and good bacteria to pasteurized milk and make it a new food; but when it is ultra-pasteurized or heated for long periods, the milk is no longer viable for making kefir. Any other type of milk, including raw milk that you get from your local farmer, is still perfectly fine!
Non-dairy milk can make kefir, too, be it coconut, almond, cashew, oat, flax, and more!
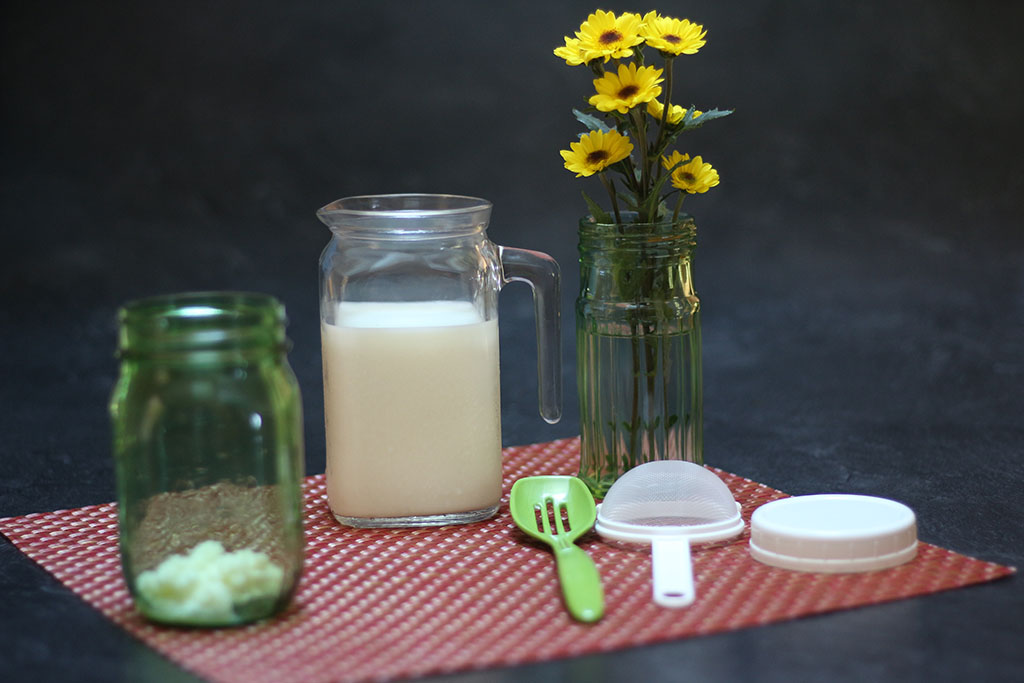
What Kind of Vessel and Other Materials
You will need a glass jar - we recommend a quart jar with a lid. A plastic lid is best, but a metal lid will work too. A spoon and a strainer will be needed if you use kefir grains, but you don't need them if you're using Easy Kefir. ( see the next step)
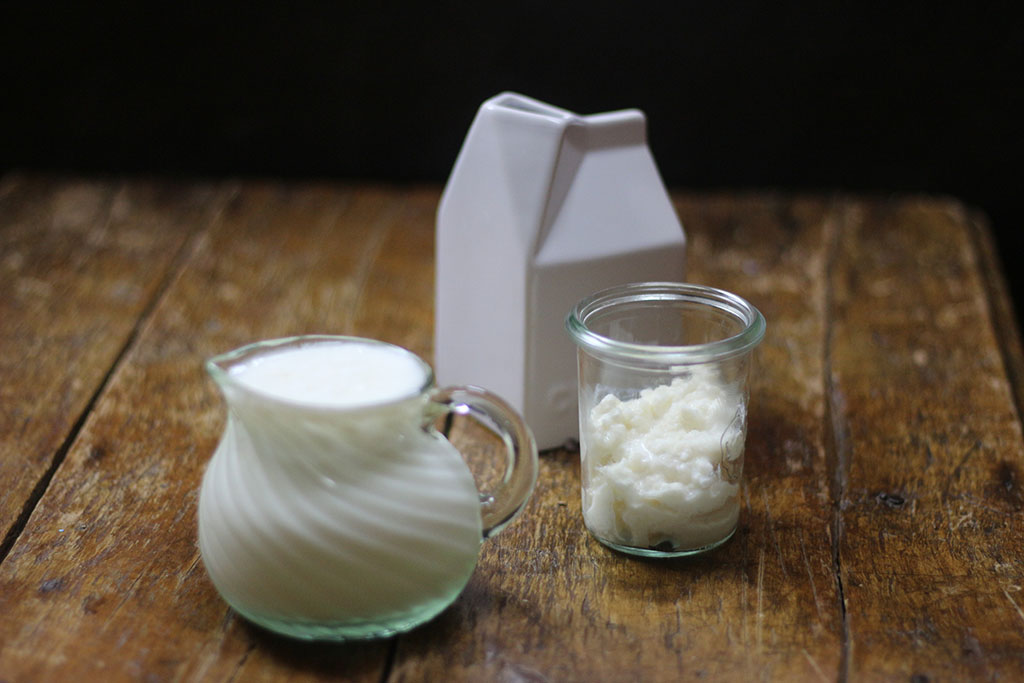
Choose Your Method
You will then decide which type of starter culture to use. We have two options, Live Kefir Grains or Easy Kefir powder packets.
The two methods are listed below:
Method 1: Live Kefir Grains
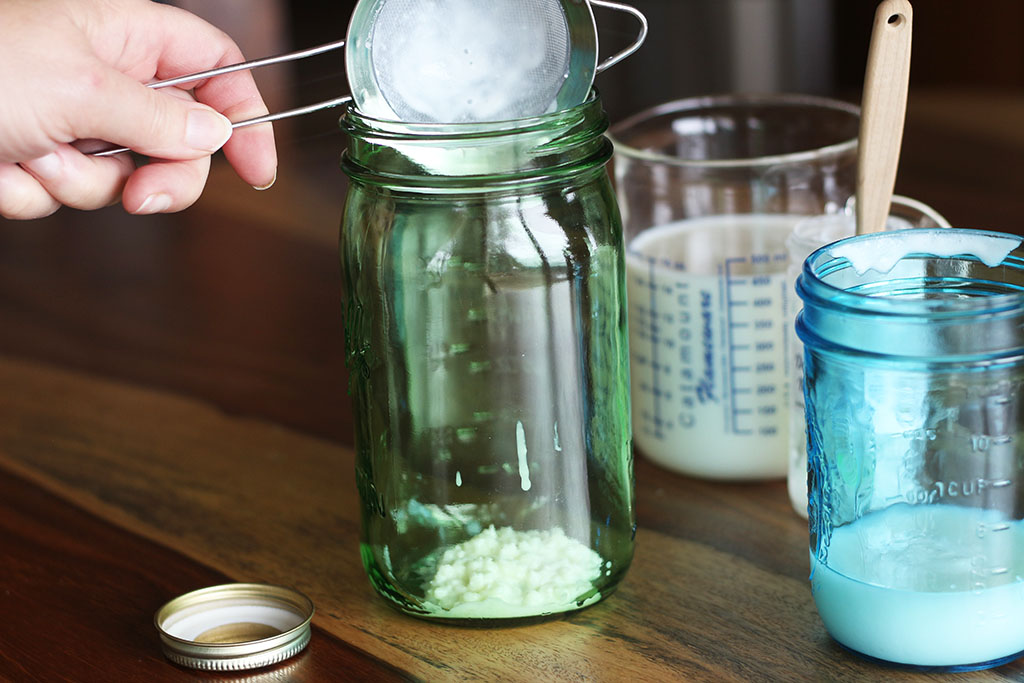
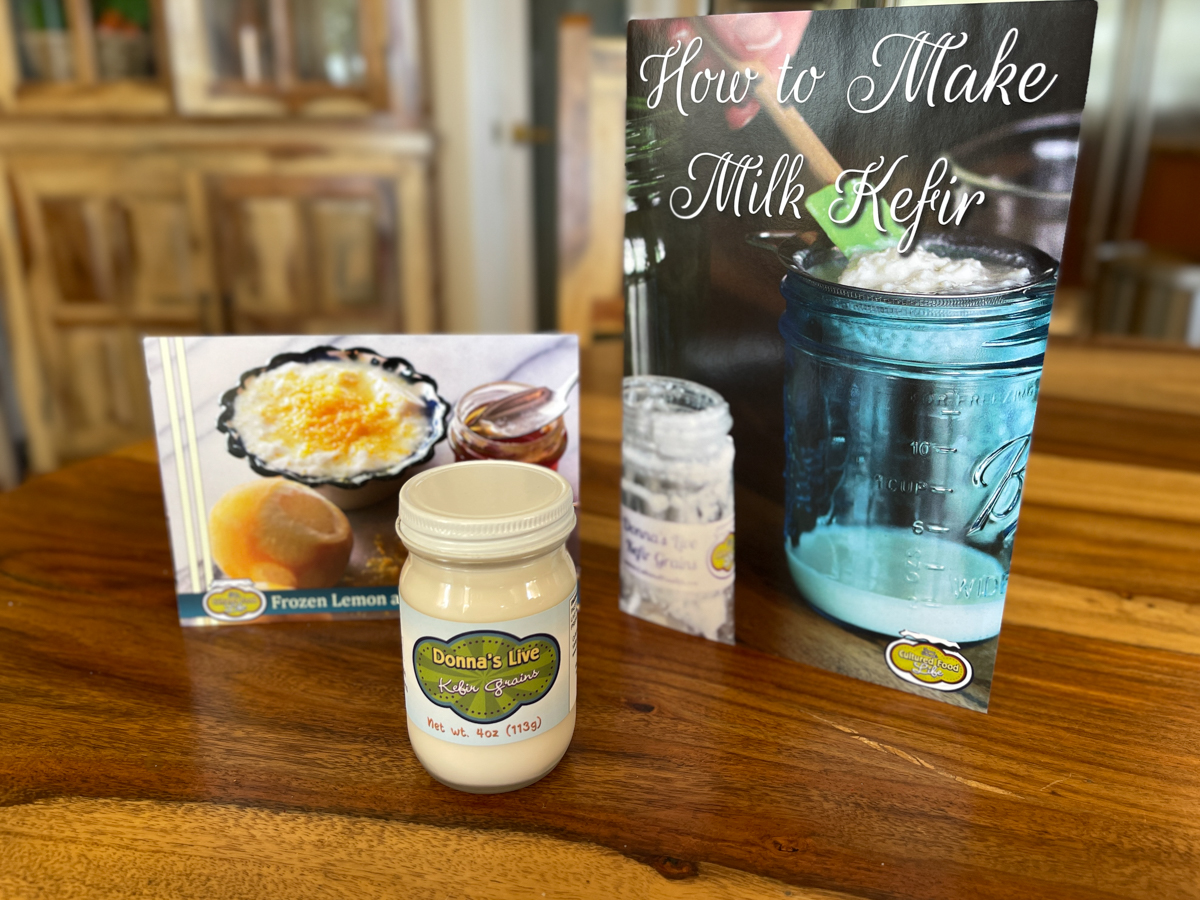 Kefir Grains are a wonderful way to make kefir. They will reproduce and last a lifetime (if you don't kill them with heat or starve them by not feeding them). I've had mine for almost two decades and they keep making me kefir, and grow and double in size each week. Kefir grains are not really grains but rather combinations of good bacteria and yeasts that infuse your milk or non-dairy milk with over 50 good bacteria and good yeasts. They look like little pieces of cauliflower and feel a little rubbery. They're tough little guys and you can pull them apart, and they just grow more. Kefir grains are a little like having a pet. You have to feed and take care of them but that's easy to do and I can show you how. I love my kefir grains and they changed my life and health. I still have kefir every day. It's a must for me and keeps me healthy! You will need to either find or purchase kefir grains.
 ![]() Donna's Live Kefir Grains - My personal kefir grains!
Donna's Live Kefir Grains - My personal kefir grains!
Method 2: Easy Kefir
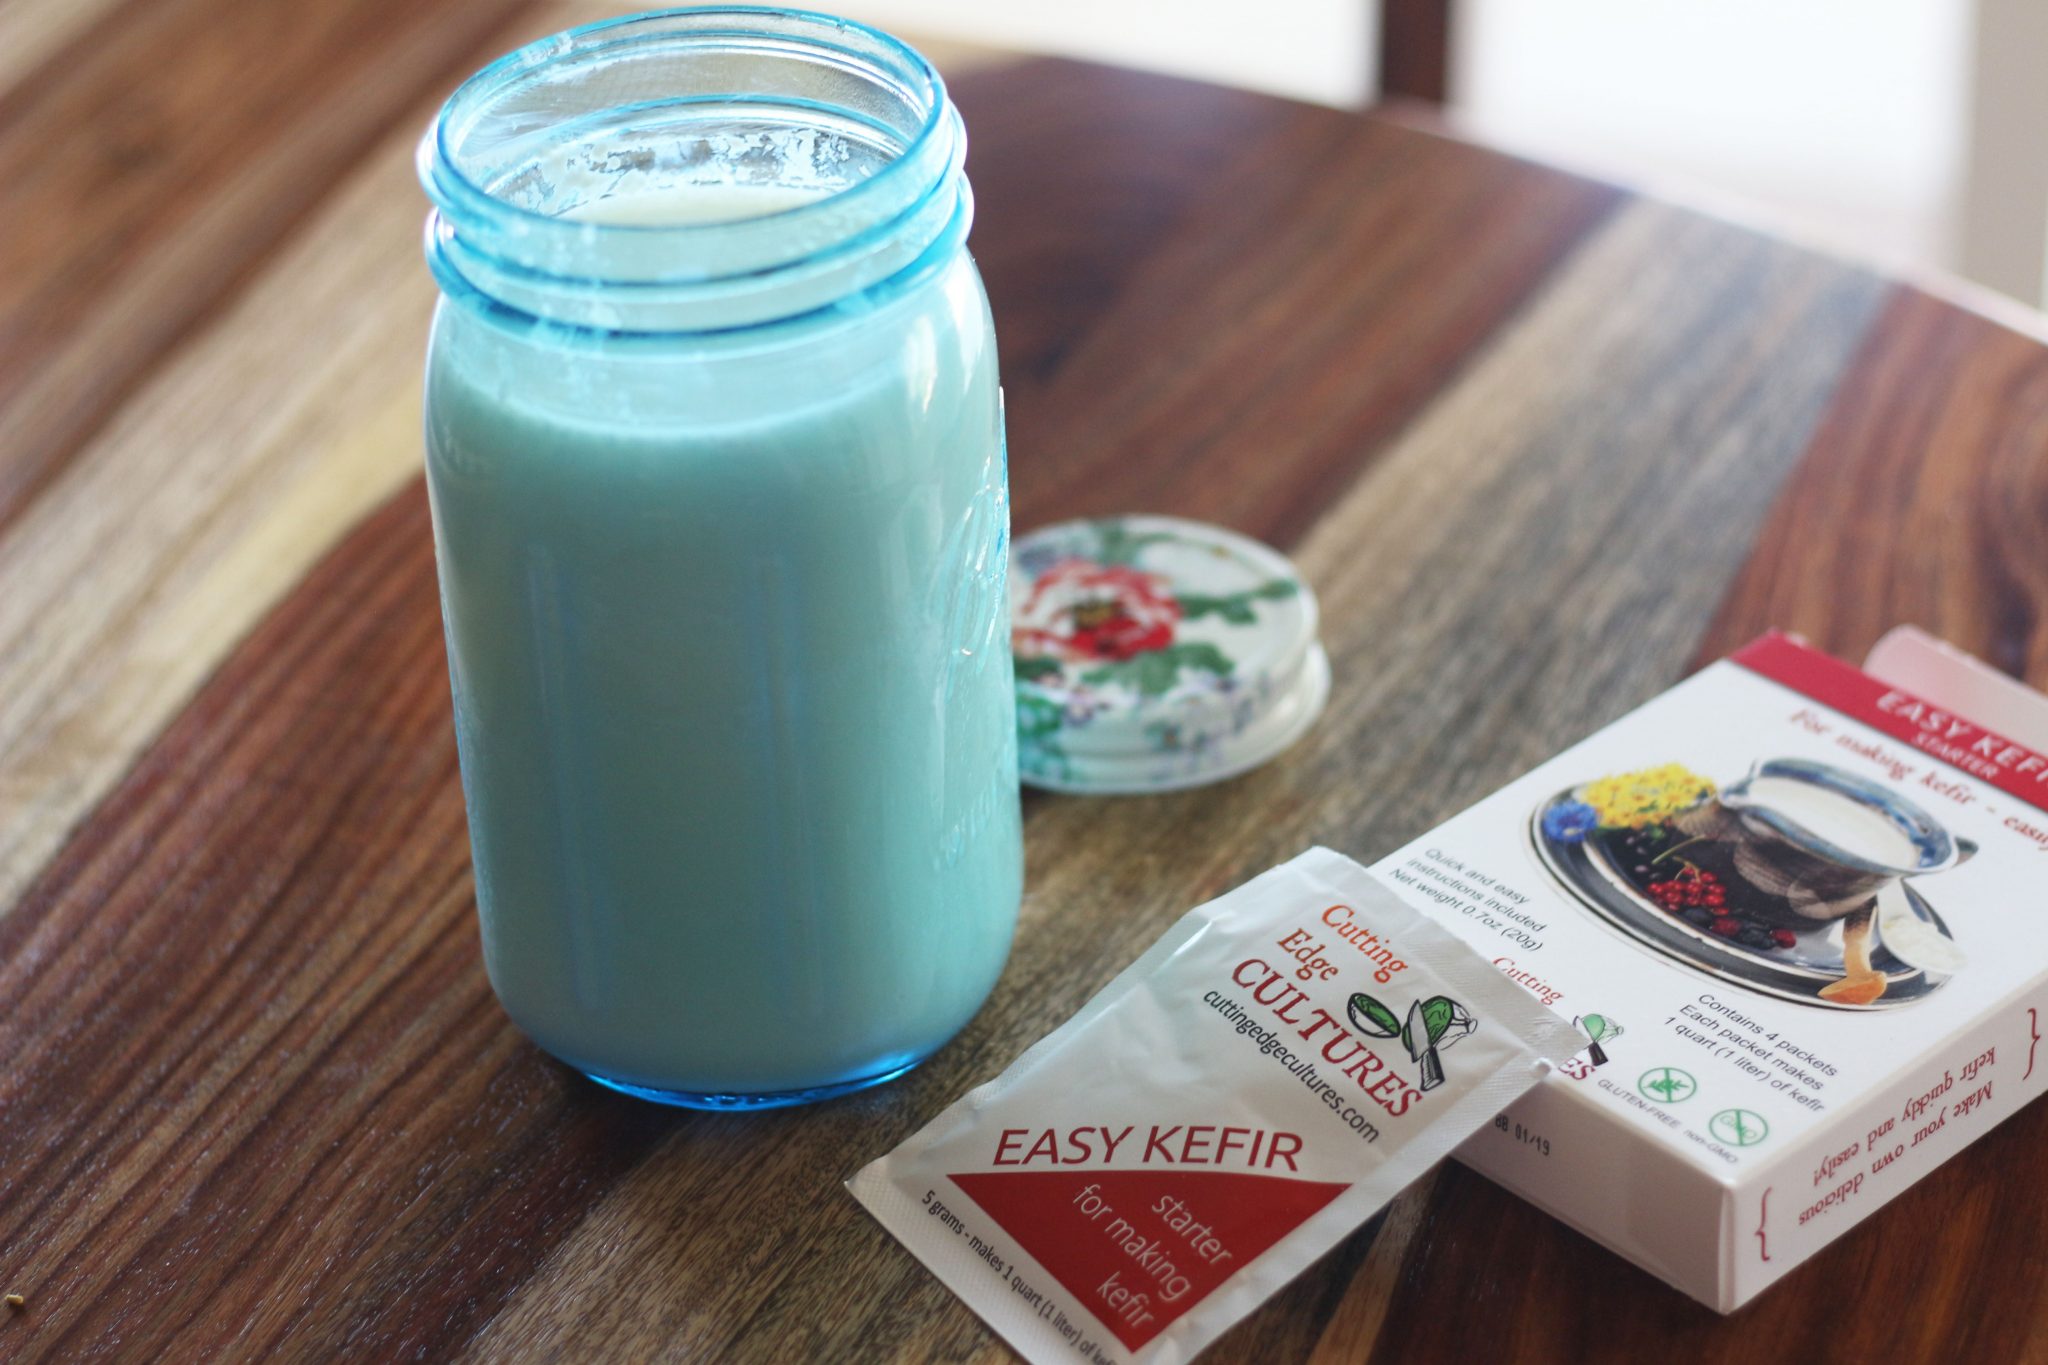
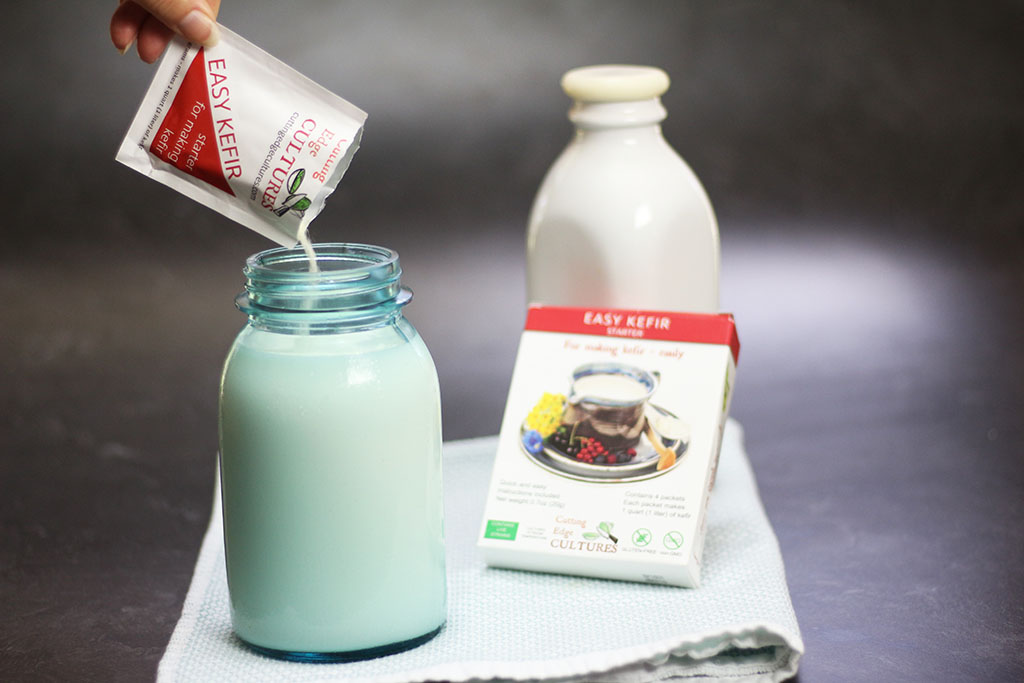 Easy Kefir is a super easy way to make kefir and almost foolproof! We have gone a step further and freeze dried the kefir grains into a powder. It’s fun and very easy to make! The kefir culture packages method is the method I used when I first started making kefir. It's really easy - you can make as much as you want, and it doesn't require you to make kefir every day, which is very convenient for people who are busy and not wanting to take care of kefir grains. It comes in a powder form, and you basically just add milk and you're done. Six packages can make over 42 gallons of kefir. So if you're struggling or feel overwhelmed, this is a great place to start.
![]() Easy Kefir - "Kefir for Beginners."
Easy Kefir - "Kefir for Beginners."
Okay! Let's Make Kefir!
Get The Recipe
Now that you've gathered your ingredients and starter culture, click on the recipe you need for the method you chose. If you are using live kefir grains, watch this video or click this recipe. The video teaches how to make kefir with live grains, how to make kefir cheese, and how to second ferment your kefir. It also has lots of information about why kefir is so good for you.
Kefir Made with Live Kefir Grains
Here is the recipe to make kefir with live grains.
Kefir Made with Easy Kefir
Here is the recipe to make kefir with Easy Kefir powder packets.
Second Ferment Your Kefir
Once you get the hang of making kefir, I encourage you to start second fermenting it. Not only does second fermenting increase the nutrients in your kefir, it also makes it taste a LOT better! I always second ferment my kefir. It's not hard and I encourage you to try it and see the difference!
What To Do With Your Kefir While On Vacation
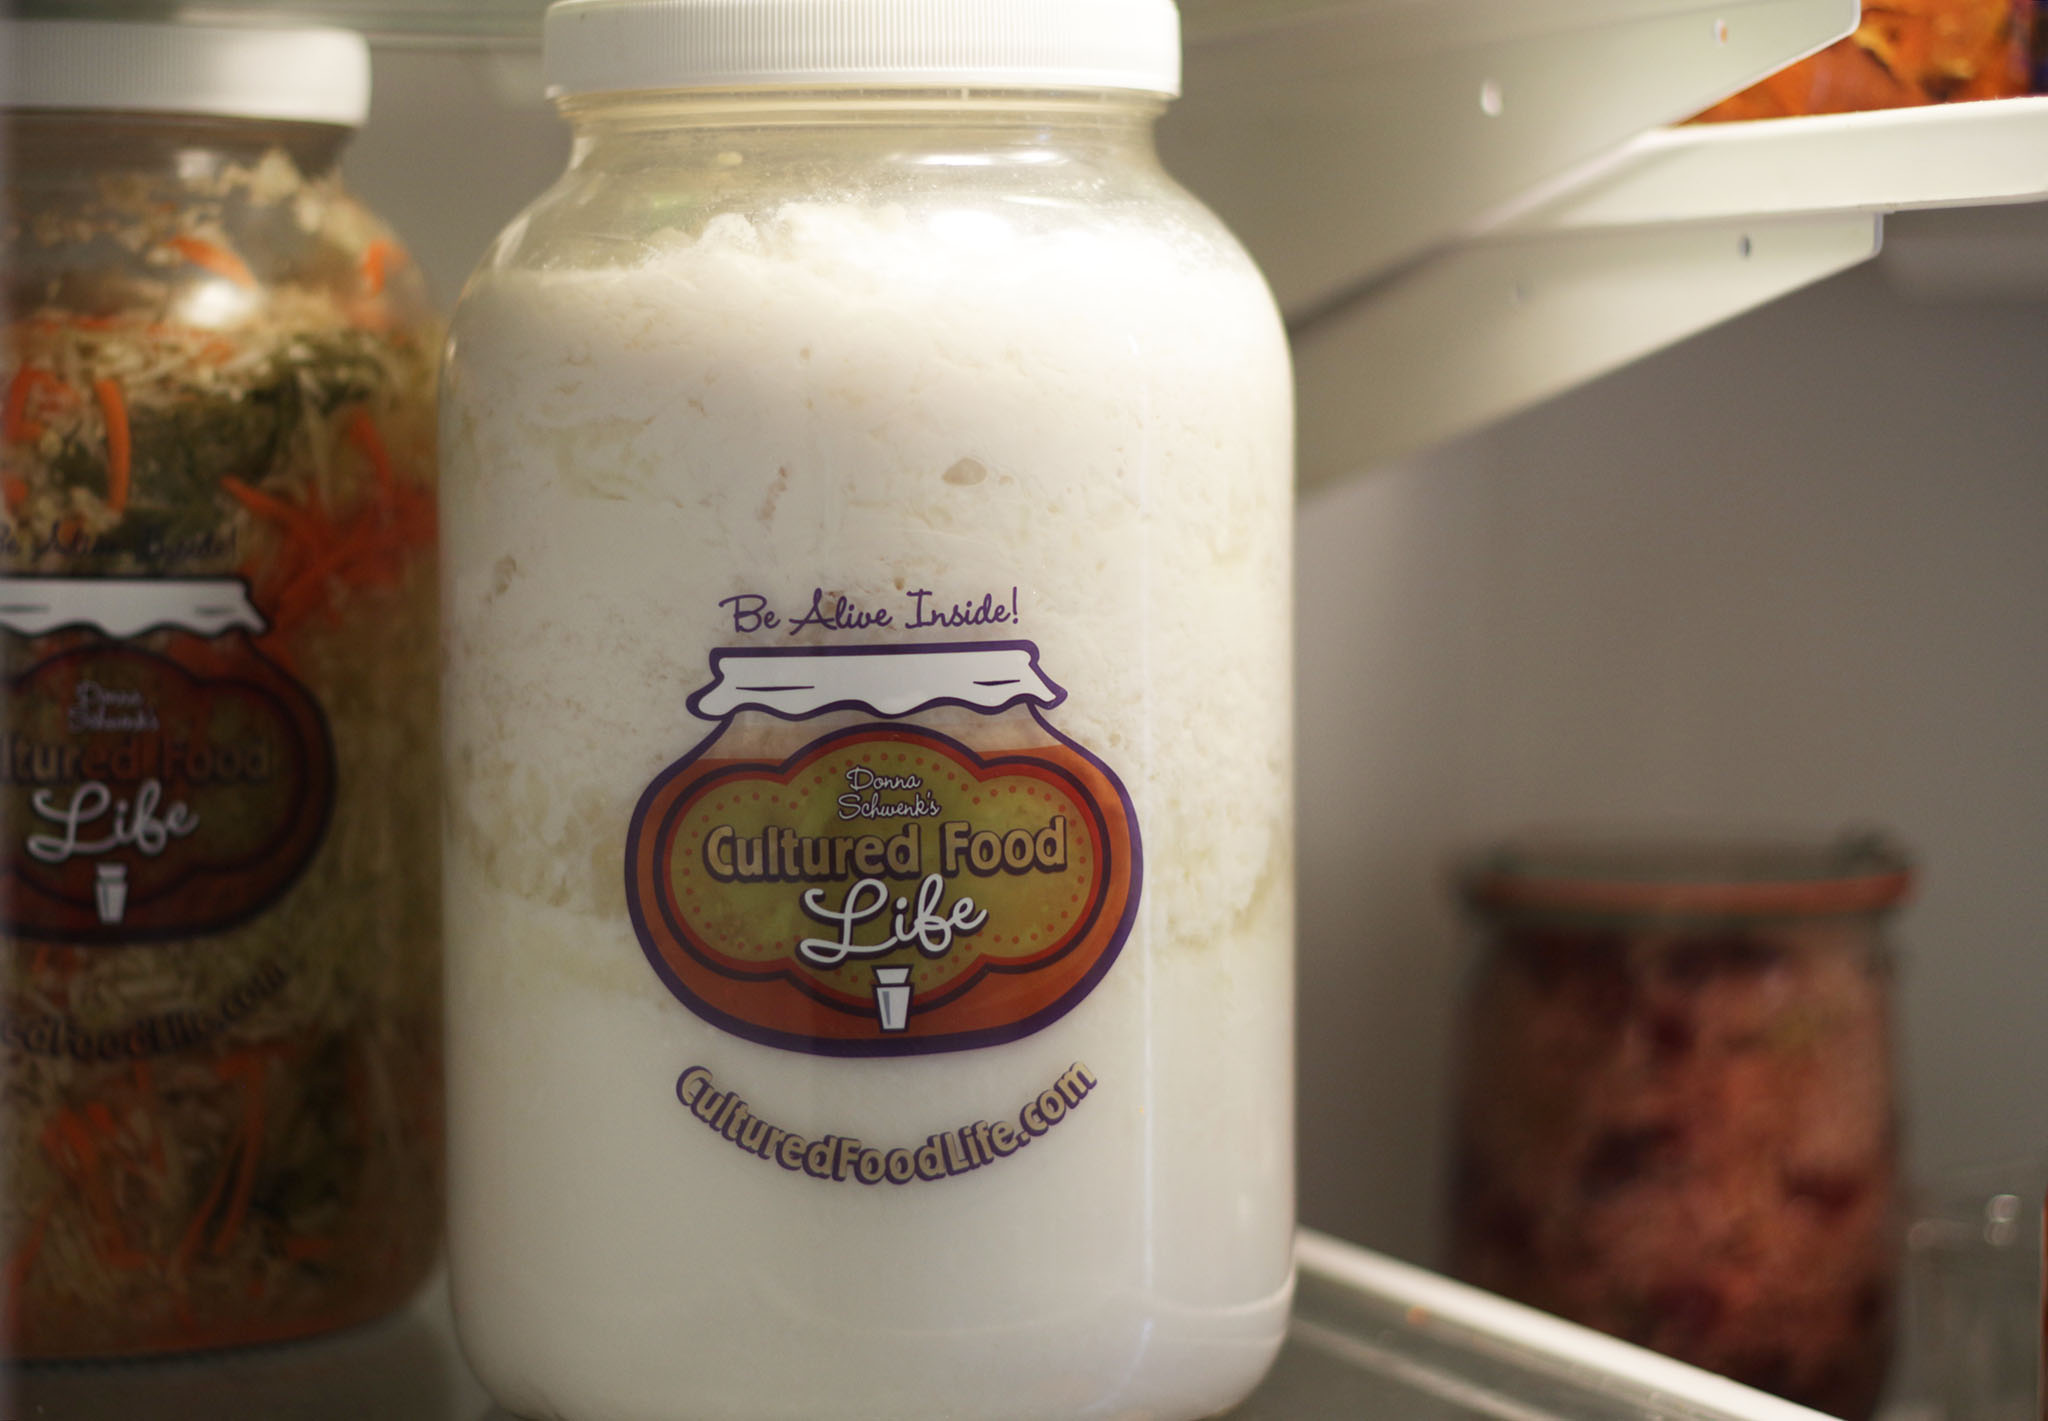
Storing kefir grains for a week
Place your kefir grains in milk. If you have 1 tablespoon of grains, store them in at least 2 cups of milk, 3 is better. I like to make sure that they have plenty of food to eat. If you have more grains, add more milk accordingly. Then you place this in the refrigerator. This will last for one week. Coming home: When you return home strain off the milk that the grains were resting in and discard (you can also give this to pets!) and put them in new milk to make kefir. The grains will be a little slower making kefir when you first take them out of the fridge. The cold slows them down a bit, but the second time you make kefir they will be back up to speed.
Longer than a week
If you're going to be gone for more than one week, then I recommend you freeze them in milk. Store them in a jar in the amount of milk you regularly use, leaving a little room at the top for expansion when it freezes. Store in a glass or food-grade plastic jar with a lid and place in the freezer. You can store this for several months and they should be fine. They will take a little while to wake up when you remove them from the freezer, but once they thaw, strain them and give them fresh milk After a few days of making kefir, they should be fine. You will need to discard the milk they were stored in. Freezing kefir grains should only be done once in a while. Freezing and thawing them continuously can diminish or kill them, but once or twice a year should be fine
Are you on the list?
Sign up today and I'll send you my free Getting Started Guide!
Each week I'll send you updates, tips, recipes, and more! You might even be a winner of my weekly giveaway! (starter cultures, memberships, and more!)
Come be a part of my cultured food family!

